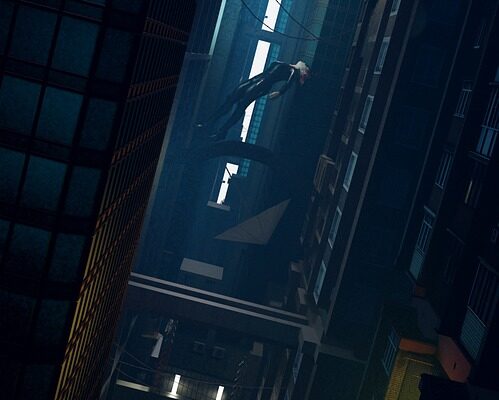
From Concept to Completion: A Step-by-Step Guide to 3D Scene Development
3D scene development is a complex process that involves taking an idea or concept and turning it into a fully realized three-dimensional environment. Whether you are creating a scene for a video game, animation, simulation, or visualization, the steps involved in developing a 3D scene are generally the same. In this guide, we will walk you through the process of creating a 3D scene from concept to completion.
Step 1: Conceptualization
The first step in developing a 3D scene is to come up with a clear concept or idea for the scene you want to create. This could be a detailed description, a rough sketch, or even a mood board of images that capture the look and feel you are going for. It is important to have a clear vision of the final result before you begin the development process.
Step 2: Storyboarding
Once you have a concept in mind, the next step is to create a storyboard that outlines the key elements of the scene, such as camera angles, lighting, composition, and action. This will help you visualize how the scene will unfold and make it easier to plan out the development process.
Step 3: Modeling
After you have a storyboard in place, the next step is to create the 3D models that will populate your scene. This involves using software such as Blender, Maya, or 3ds Max to create detailed 3D representations of the objects, characters, and environments that will be featured in the scene.
Step 4: Texturing
Once you have created your 3D models, the next step is to apply textures to them to give them a realistic appearance. Texturing involves adding color, patterns, and other surface details to your models to make them look more lifelike. This can be done using tools within your modeling software or by using separate texturing software such as Substance Painter.
Step 5: Lighting
Lighting is a crucial element in creating a realistic and visually appealing 3D scene. Experiment with different lighting setups, including natural lighting, artificial lighting, and ambient lighting, to achieve the desired mood and atmosphere for your scene. This may involve adjusting the intensity, color, and direction of light sources to create shadows, highlights, and other lighting effects.
Step 6: Animation
If your scene includes moving elements, such as characters or objects, the next step is to animate them. This involves creating keyframes to define the motion of the objects and using interpolation to create smooth transitions between keyframes. Animation can bring your scene to life and add a dynamic element to the overall composition.
Step 7: Rendering
Once you have completed all the modeling, texturing, lighting, and animation for your scene, the next step is to render it. Rendering is the process of converting the 3D data into 2D images or frames that can be viewed on a screen or printed. This can be a time-consuming process, depending on the complexity of your scene and the level of detail you want to achieve.
Step 8: Post-Processing
After rendering your scene, you may want to apply some post-processing effects to enhance its visual appeal. This could include adding depth of field, motion blur, color correction, or other effects to make your scene look more polished and professional. Post-processing can help you achieve a more cinematic look for your scene.
Step 9: Feedback and Revision
Once you have completed your 3D scene, it is important to get feedback from others to see how it is being received. This could be from colleagues, clients, or even friends and family. Take note of any feedback you receive and be prepared to make revisions to your scene if necessary. This iterative process can help you improve the quality of your work and ensure that it meets the expectations of your audience.
Step 10: Final Presentation
The final step in the 3D scene development process is to present your completed scene to your intended audience. This could be as part of a demo reel, portfolio, or as a final product in a video game, animation, or simulation. Make sure to showcase your scene in the best possible light and highlight the key features that make it unique and engaging.
In conclusion, developing a 3D scene from concept to completion is a challenging but rewarding process that requires skill, creativity, and attention to detail. By following the steps outlined in this guide, you can create stunning 3D scenes that captivate and inspire your audience. So, roll up your sleeves, fire up your favorite 3D software, and start bringing your ideas to life in three dimensions.
